OpenCode Configuration Guide
Open-source AI coding assistant — your intelligent coding partner in the terminal
📋 Overview
OpenCode is an open-source AI coding assistant that helps you write, debug, and improve code from the terminal, an IDE, or a desktop app. With a native terminal TUI, parallel sessions, and support for 75+ model providers, it's an ideal companion for command-line developers.
🔗 Related Links
| Resource | URL |
|---|---|
| OpenCode project | https://github.com/opencode-ai/opencode |
✨ Features
- ✅ Native terminal TUI: Built for CLI developers — fast and fluid
- ✅ Smart LSP loading: Loads the right language server automatically for better context
- ✅ Parallel sessions: Run multiple sessions side by side without interference
- ✅ Shareable session links: Share a session link with collaborators
- ✅ 75+ model providers: Cloud and local models alike
- ✅ Multi-platform: Terminal CLI, desktop app (Beta), and IDE extensions
🛠️ Install & Configure
Step 1: Install OpenCode
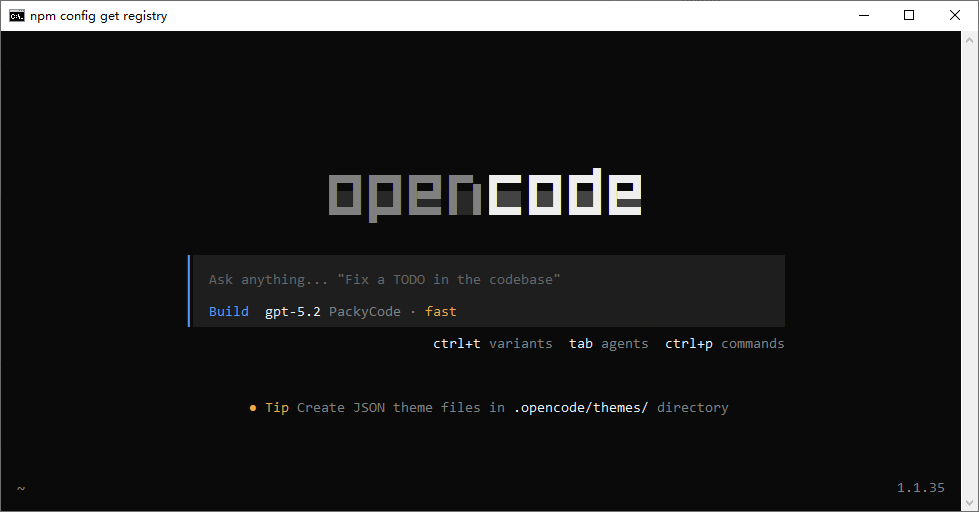
Open a terminal and install OpenCode globally:
npm install -g opencode-aiOnce installed, run opencode in the terminal. The TUI should appear.
Step 2: Install CC-Switch
Follow the CC-Switch configuration tool docs to download and install CC-Switch locally.
Step 3: Add the MortyCode Provider
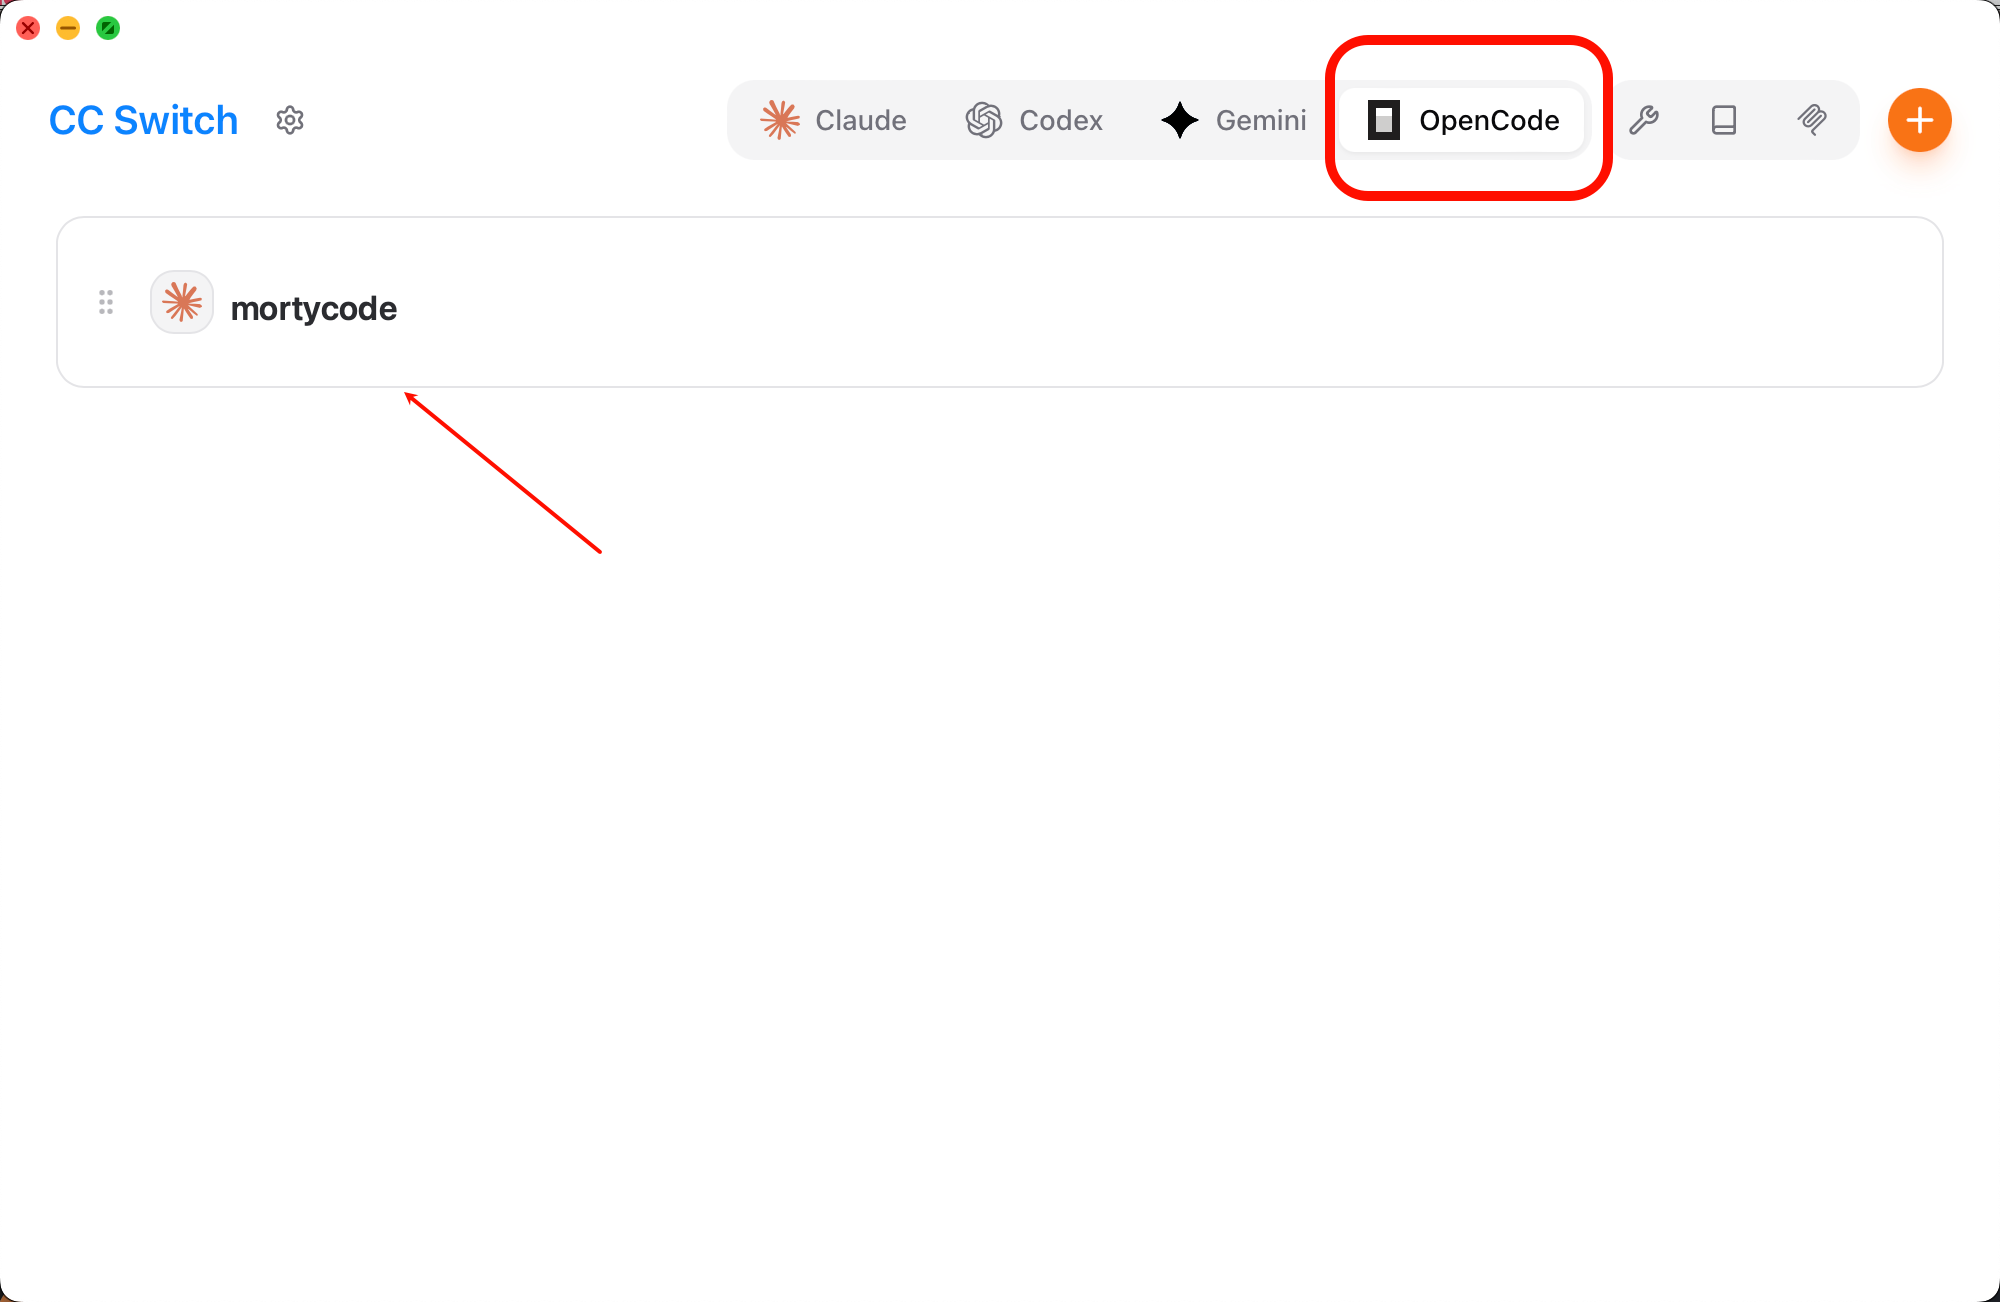
1. Choose the configuration target
Open CC-Switch, select OpenCode at the top, then click Add Provider.
2. Fill in the provider details
Configure the fields as follows:
| Field | Description |
|---|---|
| Preset provider | Select MortyCode |
| Provider identifier | A custom name like MortyCode-Claude |
| API format | Use Anthropic for Claude; OpenAI for GPT; Google (Gemini) for Gemini |
| API Key | Paste the Key you created in the MortyCode console |
| Extra options | Set {"setCacheKey":true} |
💡 Supported Groups
Pick the API Key from the right group for the models you want:
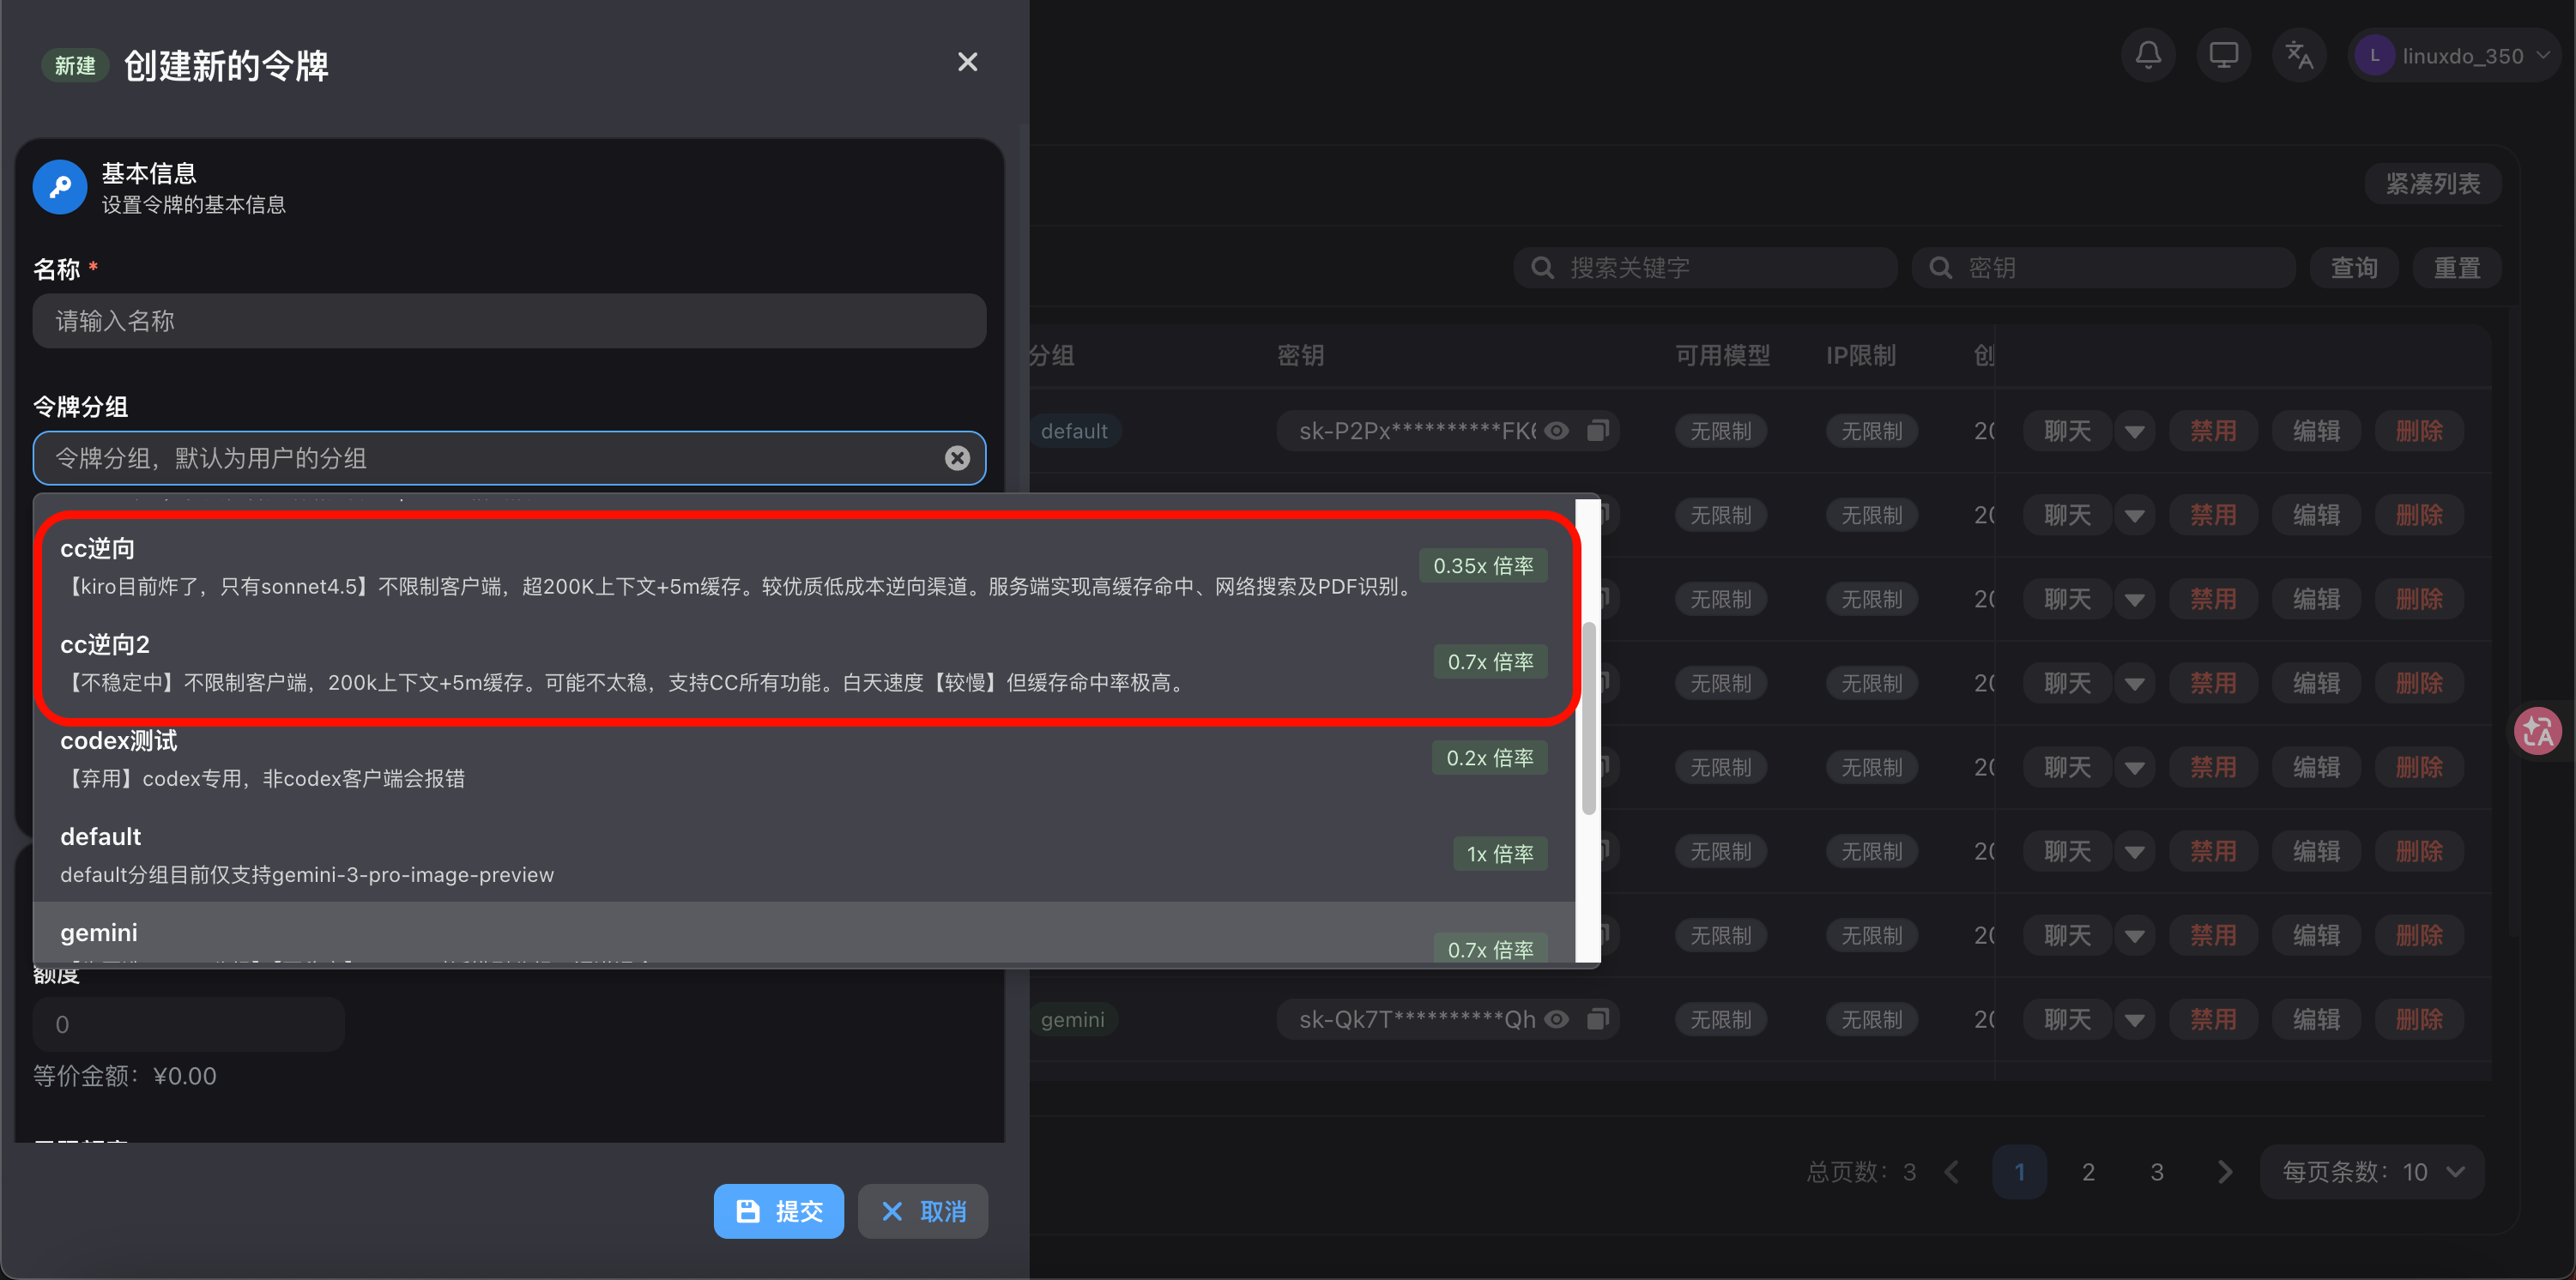
- Claude series: reverse-only group
- GPT series: Codex group
- Gemini series: Gemini group
Select the matching group when you create a dedicated Key.
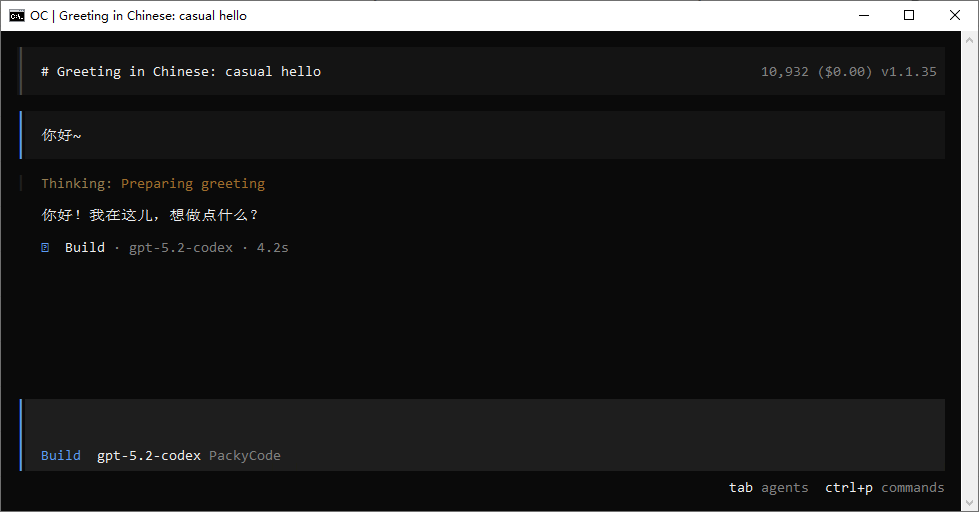
✅ Verify the Setup
- Reopen the terminal and run
opencode - Run
/modelsand check whether your configured channel appears in the list - If you see your model, the setup is good to go

Happy coding! 🎉
FAQ
"npm not found" on install?
Install Node.js first — see Node.js environment setup.
Configured channel not showing in the model list?
- Confirm the configuration is saved in CC-Switch
- Restart your terminal and run
opencodeagain - Double-check that the API Key is correct